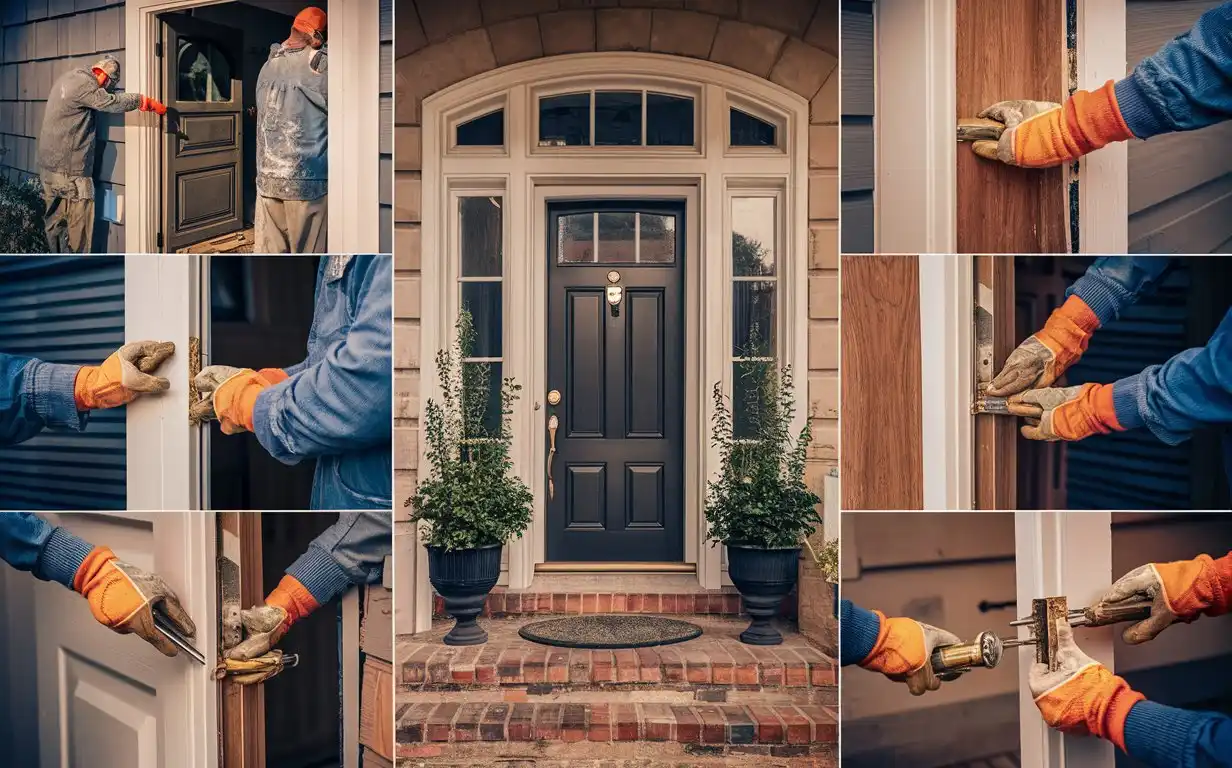
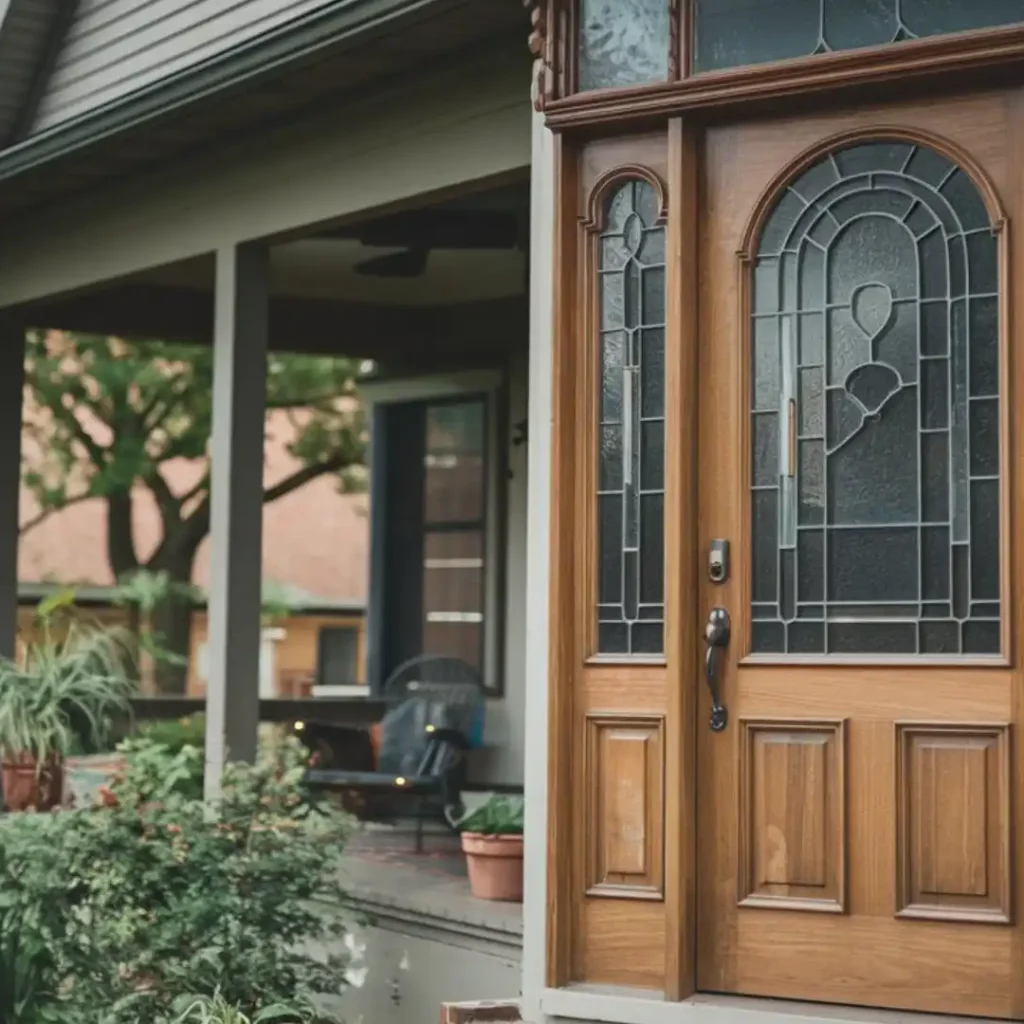
Installing an exterior door may seem challenging, but with the right guidance, you can complete the project smoothly. Whether you’re improving security, boosting curb appeal, or upgrading energy efficiency, knowing how to install an exterior door is an invaluable skill. This step-by-step guide will walk you through each phase of the process—from removing the old door to properly sealing and finishing the new one. With a few basic tools and careful attention, you’ll master how to install an exterior door easily, ensuring a professional finish every time.
Why You Should Learn How to Install an Exterior Door
There are numerous benefits to learning how to install an exterior door yourself. For starters, it saves you money on professional labor costs, which can be significant depending on the complexity of the project. Installing your door also provides you with greater control over the outcome, allowing you to customize the fit and design to match your home perfectly. Moreover, understanding the installation process empowers you to perform repairs or future replacements without relying on professionals. It’s a rewarding skill that improves both your home’s value and your DIY confidence.
The Benefits of Installing an Exterior Door Yourself
Taking on the task of installing an exterior door yourself has several upsides. First and foremost, the savings are substantial, especially if you’re replacing multiple doors. Additionally, DIY installation gives you a sense of accomplishment and control over the project. You can adjust the door fit precisely, ensuring it’s aligned and sealed correctly to prevent drafts. Plus, if issues arise later on, you’ll be familiar with the installation process, making repairs much easier. Installing an exterior door yourself also helps you learn essential home improvement skills, setting you up for future projects.

Understanding Door Types and Materials
The first step in installing an exterior door is choosing the right door type and material for your home. Exterior doors are commonly made from wood, steel, or fiberglass. Wood doors offer a traditional, classic look but may require more maintenance over time due to weather exposure. Fiberglass doors are low-maintenance and highly durable, making them a great choice for energy efficiency. Steel doors are robust and offer excellent security, but they may be prone to rust in humid climates. The right door will depend on your needs, budget, and the weather conditions in your area.
Tools and Materials You’ll Need for Exterior Door Installation
To install an exterior door successfully, you’ll need to gather a variety of tools and materials before starting. Having everything on hand will make the installation process smoother and prevent unnecessary delays.
Tools:
- Tape measure
- Level
- Hammer
- Pry bar
- Screwdriver or drill
- Utility knife
- Shims
- Caulk gun
Materials:
- Pre-hung exterior door
- Screws
- Exterior-grade caulk
- Sill pan (optional)
- Insulation foam
These tools and materials will be critical in ensuring that the door is installed properly, creating a secure, weatherproof seal.
How to Install an Exterior Door: Step-by-Step Instructions

Once you’ve gathered your materials and selected the perfect door, it’s time to start the installation process. Follow these step-by-step instructions to install an exterior door efficiently.
Step 1: Measure the Door Opening
Before purchasing or installing a new door, it’s essential to measure the door opening accurately. Measure the width, height, and depth of the existing frame. You’ll also want to verify that the opening is square, as an uneven frame can cause installation issues. Having the correct measurements ensures that the new door will fit perfectly, preventing future problems like drafts or difficulty opening and closing. Taking accurate measurements is a critical first step in learning how to install an exterior door successfully.
Step 2: Remove the Old Door
To begin the installation, you’ll first need to remove the old door. Start by unscrewing the hinges and lifting the door out of the frame. Use a pry bar to carefully remove the interior and exterior trim, as well as the threshold. If your door frame is damaged or rotting, you’ll need to remove it completely. Properly removing the old door ensures that the new door can be installed without any obstructions or damage to the surrounding area. It’s a step that sets the foundation for a successful installation.
Step 3: Prepare the Opening
With the old door removed, it’s time to prepare the door opening. Check the frame for any signs of damage or uneven surfaces. If there’s any rotting wood or structural issues, they must be addressed before installing the new door. You should also clean the opening to remove debris or leftover sealant. Ensuring that the opening is level and clean is essential for a smooth installation. This preparation is key in how to install an exterior door properly, as any irregularities in the opening can cause misalignment.
Step 4: Install the New Door Frame
Once the opening is ready, you can begin installing the new door frame. Place the pre-hung door in the opening and use a level to make sure it’s perfectly square. Insert shims around the door to keep it in place and adjust it as needed. Once the door is level and properly positioned, secure it with screws. This step is crucial because a level door ensures smooth operation and proper sealing. Learning how to install an exterior door involves patience and precision during this phase to avoid future issues like sticking or drafts.
Step 5: Secure the New Door
After aligning the frame, the next step is to secure the door. Use screws to fasten the hinges into place, starting with the top hinge and working your way down. Make sure the door swings freely and that there are no obstructions. Adjust the shims if necessary to ensure a perfect fit. Once everything is in place, tighten the screws and test the door to ensure it opens and closes smoothly. Securing the door properly is key to the overall functionality of the door and long-term success of your installation.
Step 6: Seal and Finish the Door
The final step in learning how to install an exterior door is sealing and finishing. Use exterior-grade caulk to seal around the edges of the door frame, ensuring that no water or drafts can get inside. Install a sill pan for extra protection against moisture, especially in areas with heavy rain or snow. Add weatherstripping to further enhance the door’s insulation. Finally, you can finish the door with paint or stain to match your home’s exterior. Sealing and finishing are critical for preventing future damage and ensuring that your door lasts for years.
Common Installation Mistakes to Avoid
Even if you carefully follow the instructions, there are common mistakes that can occur when learning how to install an exterior door. One of the most common issues is improper alignment of the door frame, which can cause the door to stick or create gaps. Using the wrong type of caulk or failing to properly seal the door can lead to water damage or drafts. Skipping the step of installing a sill pan can also result in moisture problems over time. To ensure a successful installation, avoid these common pitfalls by paying close attention to detail throughout the process.
Conclusion
In conclusion, mastering how to install an exterior door is a valuable DIY skill that can enhance your home’s security, energy efficiency, and overall appearance. By following the step-by-step process outlined in this guide—measuring correctly, preparing the opening, installing the door frame, and ensuring a proper seal—you’ll achieve professional results without hiring a contractor. With the right tools and attention to detail, you can complete this project efficiently, transforming your entryway and improving your home’s curb appeal in just a few hours.


