DIY exterior shutters can completely transform your home in a single day! Adding these shutters enhances curb appeal, provides privacy, and offers a sense of character to any house style. This guide will walk you through types, materials, tools, measurements, design, and step-by-step instructions for DIY exterior shutters, helping you create stunning shutters that match your personal style and elevate your home’s look.
Exterior shutters add a finishing touch to any home, from traditional to modern styles. DIY exterior shutters provide a cost-effective way to improve curb appeal, increase home value, and enhance your home’s appearance. With various designs, such as louvered, board and batten, or raised panel shutters, there’s an option to match any aesthetic. Besides visual appeal, shutters offer functional benefits like light control and window protection from external elements. Additionally, choosing to make your shutters yourself gives you the freedom to customize color, finish, and size precisely to your home’s dimensions.
Types of DIY Exterior Shutters
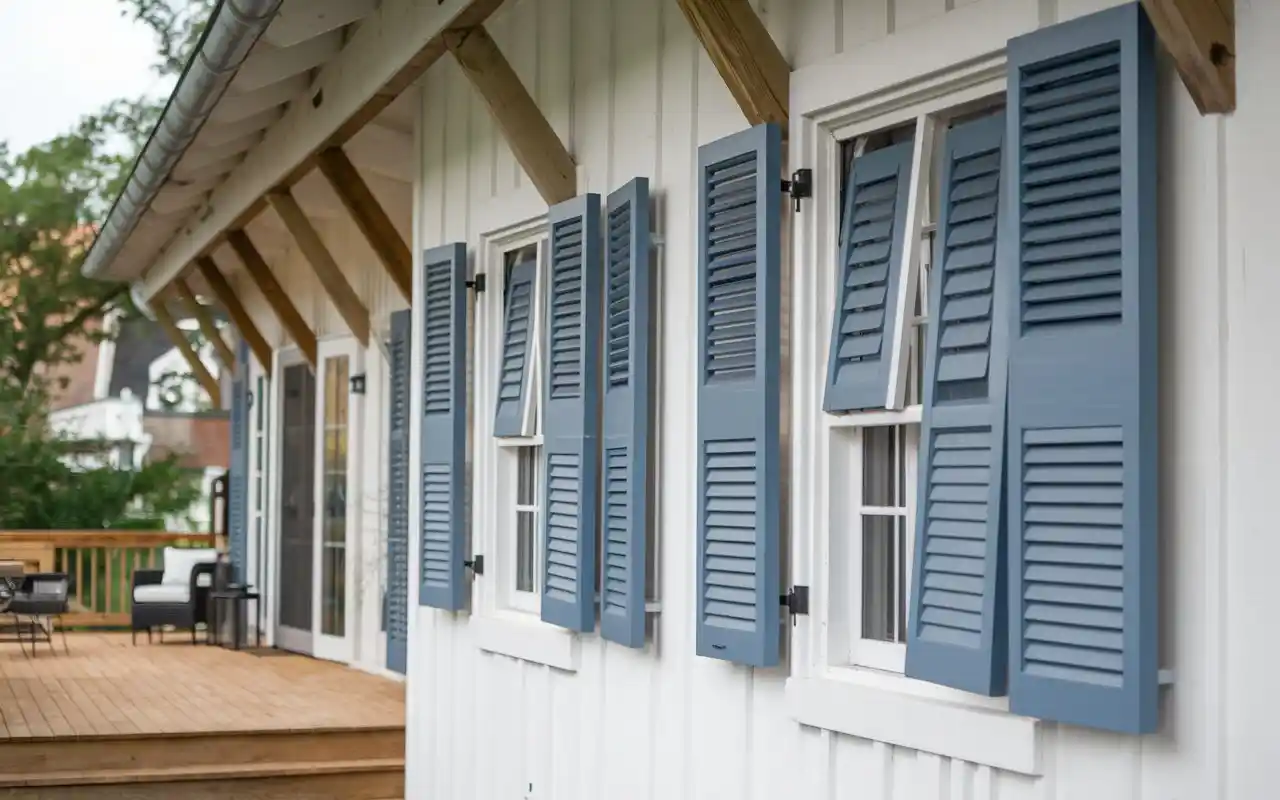
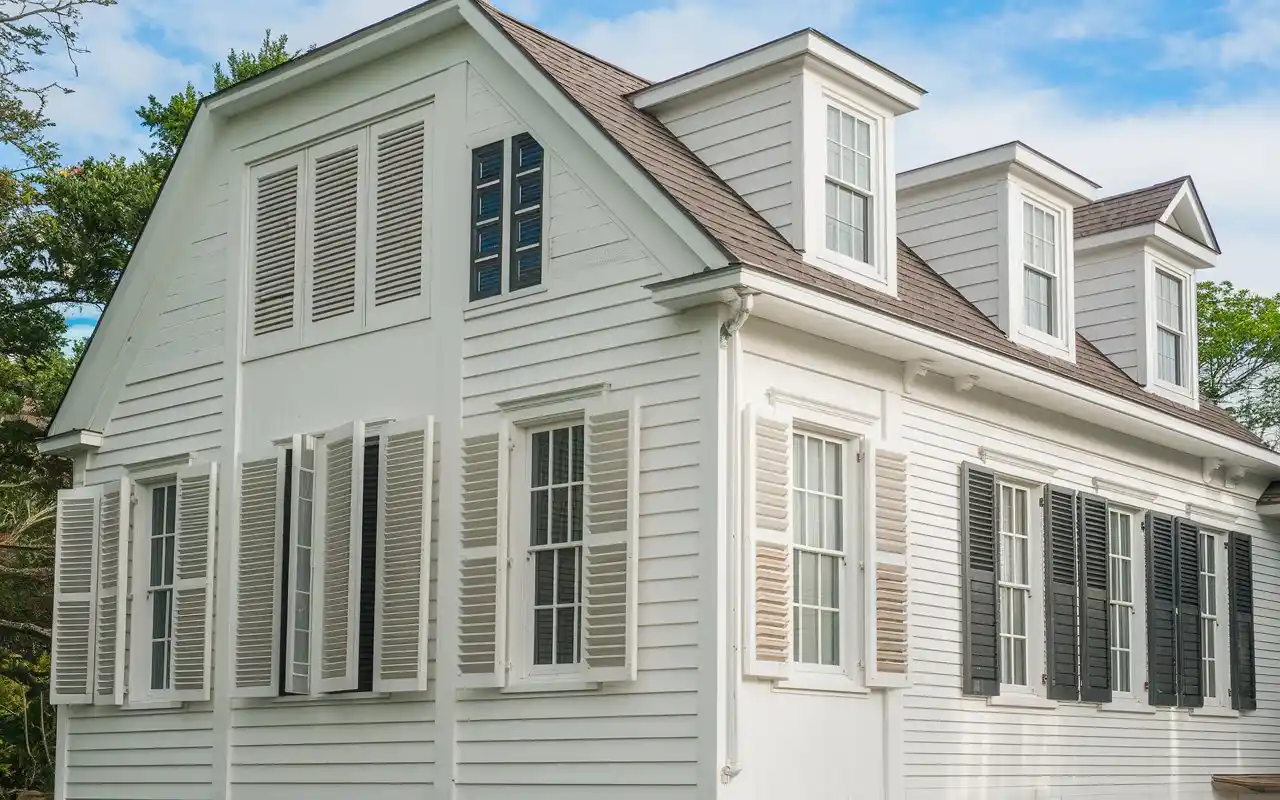
There’s a variety of exterior shutter styles, each with a unique look and purpose. Louvered shutters, with horizontal slats, provide a timeless and functional style that offers ventilation and light control. Board and Batten shutters suit rustic or farmhouse aesthetics and add a sturdy, straightforward charm with vertically arranged boards. Raised panel shutters are ideal for traditional homes and have a solid, framed design that exudes elegance. Finally, Bahama shutters (also known as Bermuda shutters) hinge at the top and swing outward, making them perfect for tropical climates where shade and ventilation are priorities. Customizing these styles lets you choose the best look for your home.
Choosing the Right Material for DIY Shutters
Selecting the proper material for DIY exterior shutters is essential for durability, appearance, and ease of maintenance. Wood is a traditional option, offering a classic look and versatile design choices, though it may require regular upkeep, especially in humid or rainy climates. Vinyl is a budget-friendly alternative that resists moisture, making it an excellent choice for low-maintenance shutters. Composite materials, which blend wood fibers and PVC, provide a durable, weather-resistant choice that combines wood’s appearance with vinyl’s longevity. Weighing the pros and cons of each material based on climate, budget, and desired aesthetic will help you create long-lasting, beautiful shutters.
Essential Tools for Your DIY Shutter Project
To complete your DIY exterior shutters project smoothly, having the right tools is key. Start with basic tools like a measuring tape for accurate dimensions and a saw (hand saw or circular saw, depending on the material) to cut panels to size. A drill will allow you to create precise holes for assembling parts and attaching shutters to your home. Other essentials include sandpaper for a smooth finish, screws or nails to secure panels, and protective gear like gloves and goggles to ensure safe handling of materials. Investing in these tools will make the assembly and installation process more efficient and enjoyable.
Measuring Windows for Exterior Shutters
Getting precise measurements is crucial for a perfect fit when building DIY exterior shutters. Start by measuring both the height and width of your windows to determine the ideal shutter size. Measure from the top to the bottom and across the widest point to ensure each shutter covers the window properly. Many prefer shutters that match the window height for a balanced look, though decorative shutters can vary. Double-check all measurements to avoid fit issues, and remember that a small error could lead to noticeable gaps or improper alignment once mounted. A well-measured shutter provides both function and a clean, cohesive look.
Designing Your Shutters
Design is an exciting part of making your DIY exterior shutters, allowing you to tailor each shutter to your style preferences. Consider factors like color, material, and texture to match your home’s aesthetic. Color selection is essential—neutral tones blend effortlessly, while bold colors can make a statement. You may also choose between matte, semi-gloss, or gloss paint finishes depending on your desired look and protection level. Explore popular shutter styles and finishes, and experiment with color samples to achieve the look you envision. By customizing the design, you ensure that your shutters not only fit well but also suit your home’s character.
Step-by-Step Guide to Building Louvered Shutters
Building louvered shutters requires patience and precision. Start by cutting wood slats to the size needed to form the angled slats. Position each slat at an equal angle within the frame for a balanced look. Assemble the frame and place each louvered slat evenly to maintain alignment. Once arranged, use screws or nails to secure the structure firmly. This type of shutter works well for adding a functional and stylish option to your home, giving you light control and airflow while creating a classic, polished look.
Creating Board and Batten Shutters
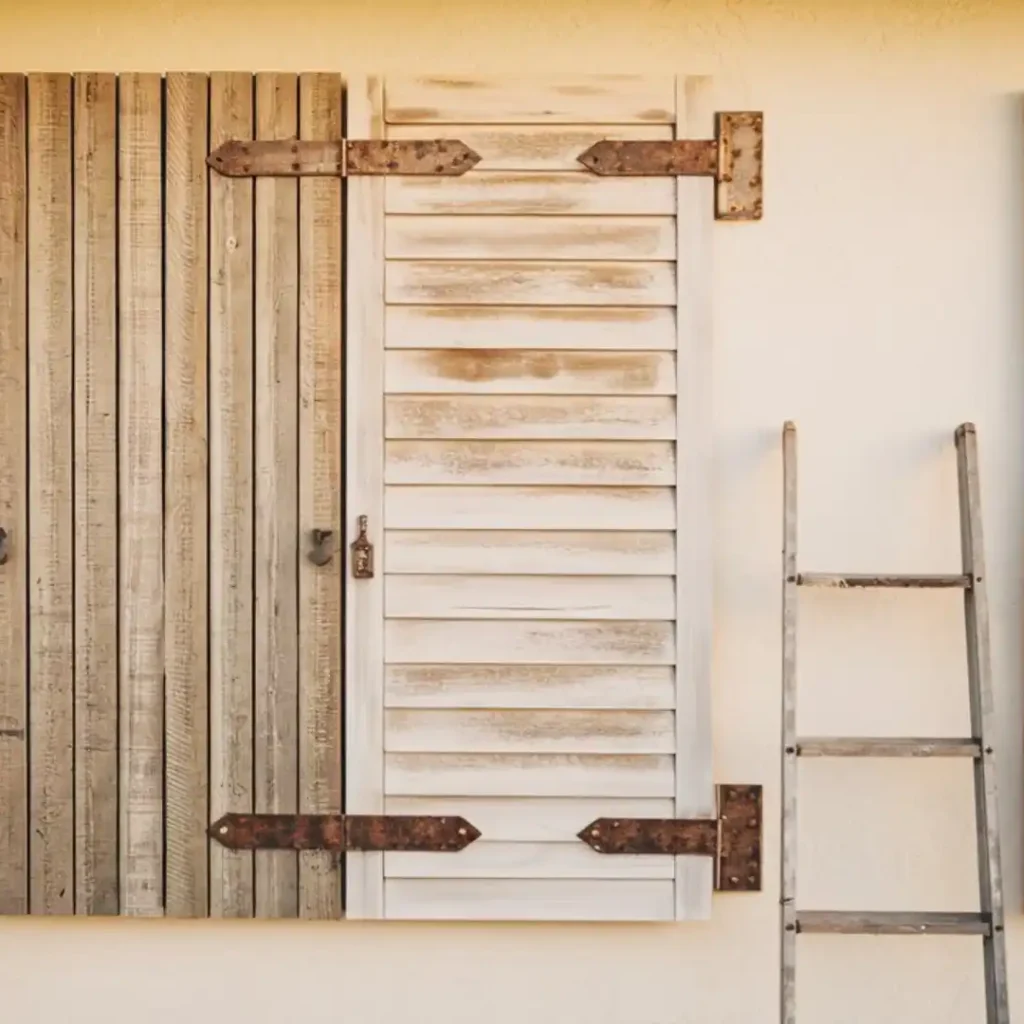
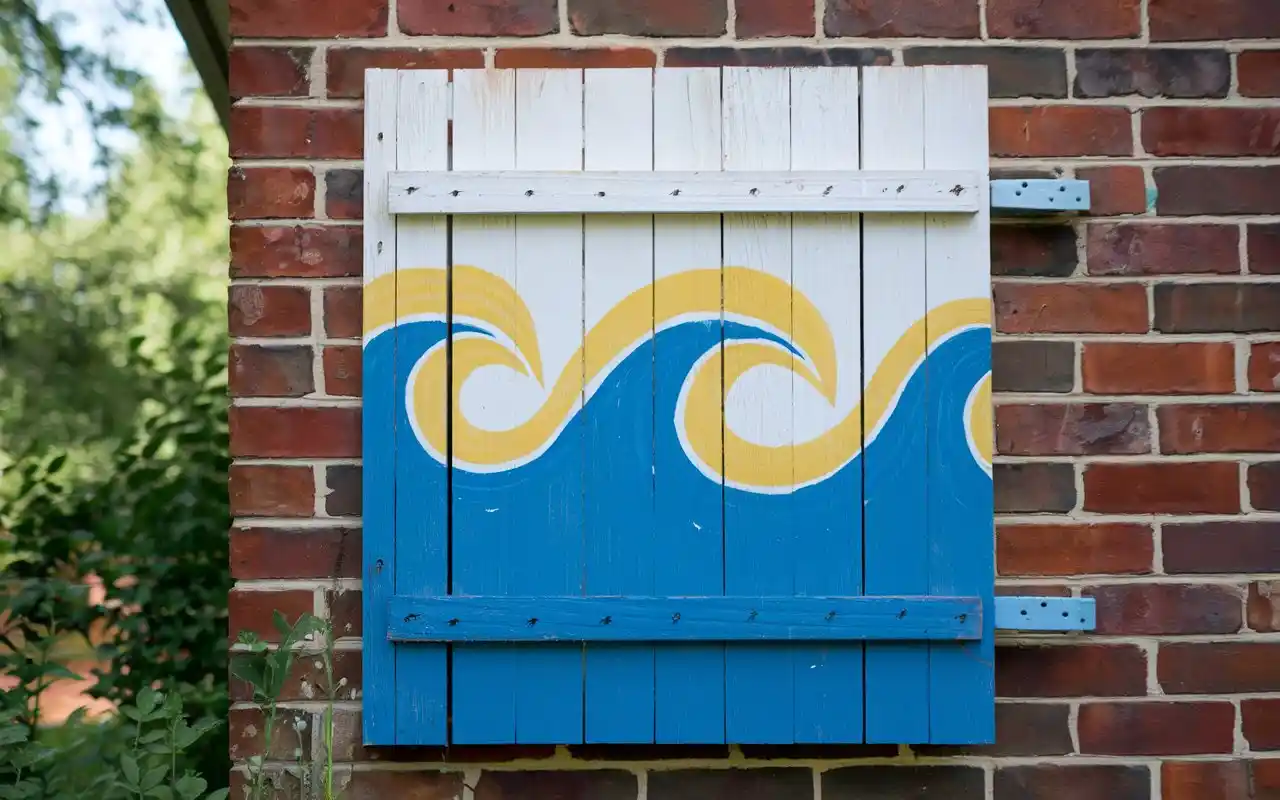
Board and batten shutters are a great option for a simple, rustic style that’s easy to create. Start by selecting boards of the right length for your windows. Arrange the boards vertically, side by side, ensuring they align evenly. Then, add horizontal battens across the boards, spacing them evenly and securing with screws. This style adds a charming, farmhouse look to any exterior, blending well with both traditional and modern styles. The straightforward assembly process makes board and batten shutters ideal for DIY enthusiasts of any experience level.
How to Build Raised Panel Shutters
Raised panel shutters add an elegant, traditional look to any home exterior. Begin by choosing solid wood or composite panels and using a router to shape the raised design on each panel. Cut frames to size and assemble them around the raised center panel, securing them with wood glue and screws for a sturdy build. Painting or staining adds the finishing touch, and these shutters complement traditional architecture beautifully. This DIY project can be more detailed, but the resulting shutters add a classic, high-end look that’s well worth the effort.
Mounting Exterior Shutters
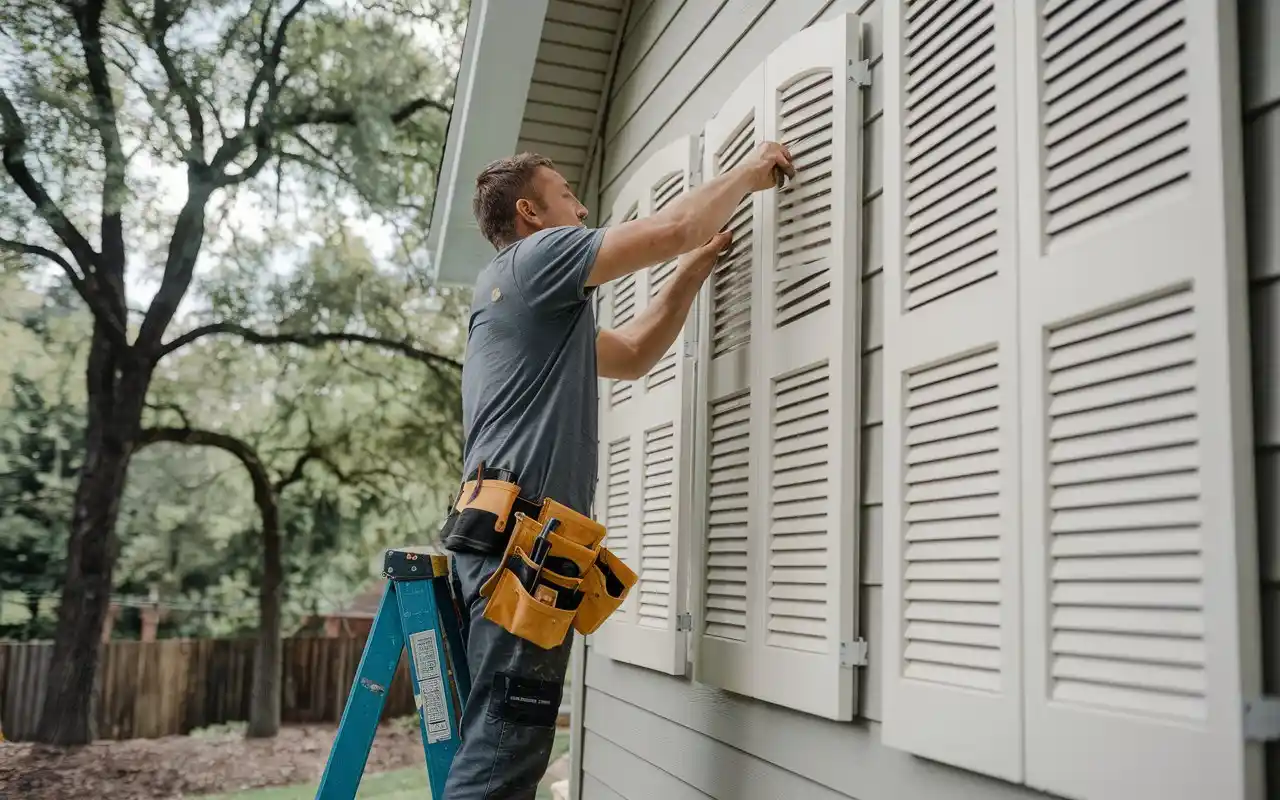
Mounting DIY exterior shutters properly is essential for a professional-looking finish. You’ll need to decide whether to attach your shutters as fixed or operable—fixed shutters are decorative, while operable shutters allow you to adjust them for light and ventilation control. Attach fixed shutters directly to your home using screws, ensuring they align perfectly with the window frame. For operable shutters, install hinges to allow movement. Measure carefully to position each shutter at the correct height and spacing for a seamless look, ensuring they’re securely mounted to withstand weather conditions.
Painting and Finishing Techniques for DIY Shutters
To ensure a durable finish, start with a primer designed for exterior surfaces, protecting against moisture and sun damage. Choose an exterior-grade paint in a color that complements your home, and apply two coats for even coverage. To further weatherproof, add a topcoat for UV and moisture resistance. Selecting a paint finish—matte for a modern look, gloss for a polished finish—adds a final touch that can enhance both the look and durability of your DIY exterior shutters.
Maintaining Your DIY Exterior Shutters
Regular maintenance keeps shutters looking new and prevents wear from weather. Every season, give your shutters a gentle clean with a soft cloth and mild soap to remove dirt and debris. Inspect them annually for signs of chipping paint or structural issues, especially if they’re made from wood, which can be more susceptible to moisture. Reapply paint or stain every few years to maintain the finish and prevent moisture damage. With regular upkeep, your shutters will retain their appearance and last longer.
Budget-Friendly Tips for Shutter Projects
DIY exterior shutters don’t have to be expensive. Look for discounted materials at home improvement stores or consider using reclaimed wood for a unique, rustic look. Upcycling materials not only saves money but also adds character to your shutters. Opt for vinyl or composite materials if you want a more affordable, low-maintenance solution, and consider repurposing any leftover wood or hardware from other projects. A bit of creativity can help keep costs down while allowing for a high-quality finish.
Common Mistakes to Avoid
Avoid these common DIY shutter mistakes for the best results. Incorrect measurements can cause fit issues, making shutters appear off-balance or uneven. Using interior paint instead of exterior-grade paint may lead to chipping and discoloration over time. Another common error is not using the proper hardware, which can result in shutters loosening or falling in high winds. To avoid these mistakes, carefully follow measurements, use weather-resistant materials, and ensure secure mounting. This attention to detail will help your shutters look professionally done and hold up over time.
Conclusion
DIY exterior shutters are a quick and rewarding way to add character and curb appeal to your home. This accessible project can be completed within a day, giving you the satisfaction of adding a custom touch to your home’s exterior. Whether you choose louvered, board and batten, or raised panel shutters, following this guide will help you achieve professional-looking results that enhance your home’s appearance and value.
